Last updated November 22, 2026
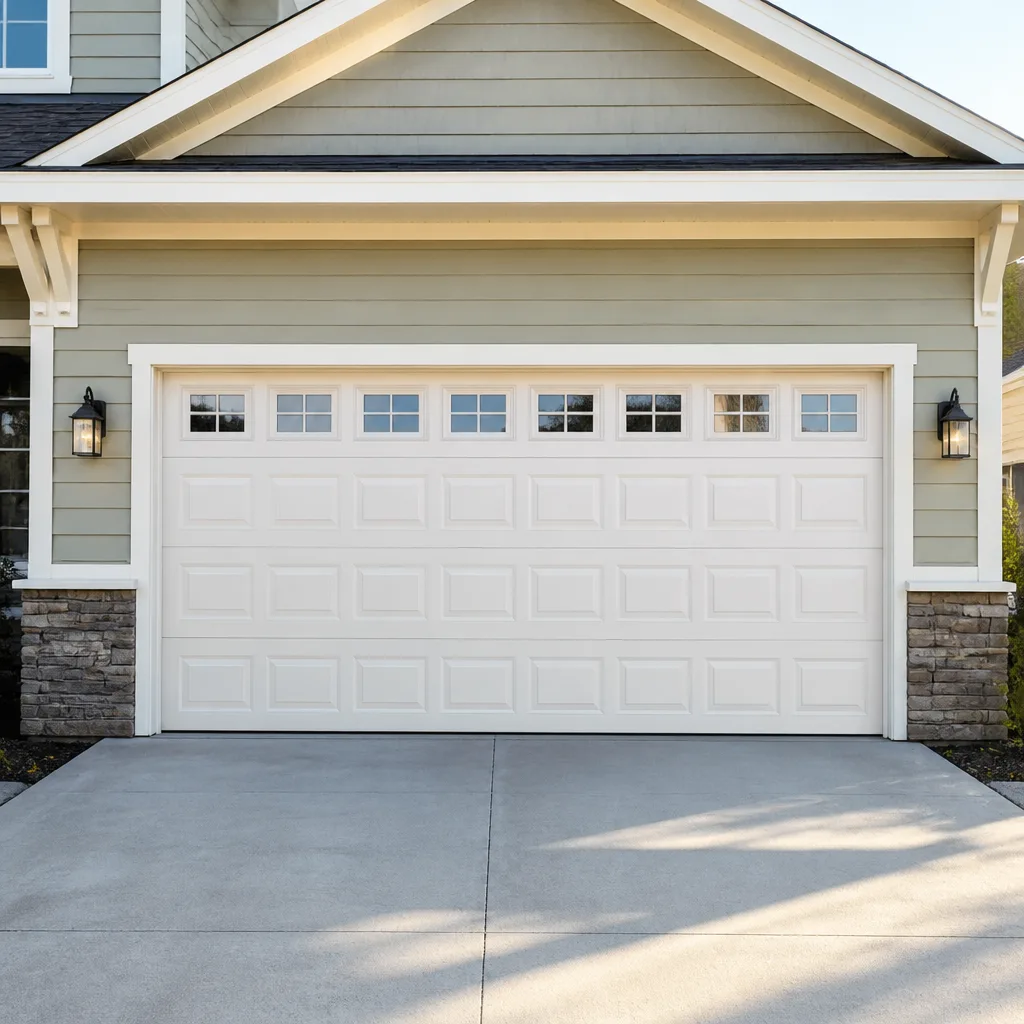 Raised-panel steel
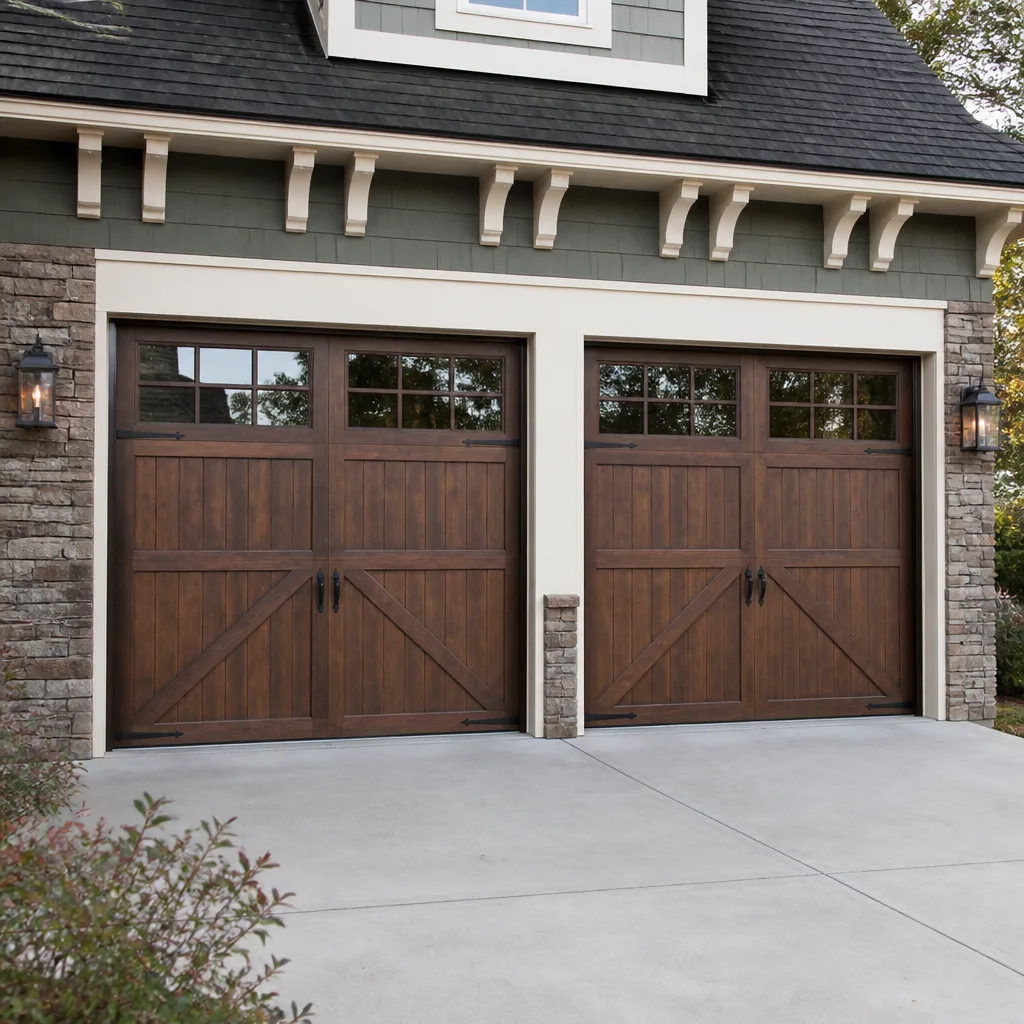 Carriage house
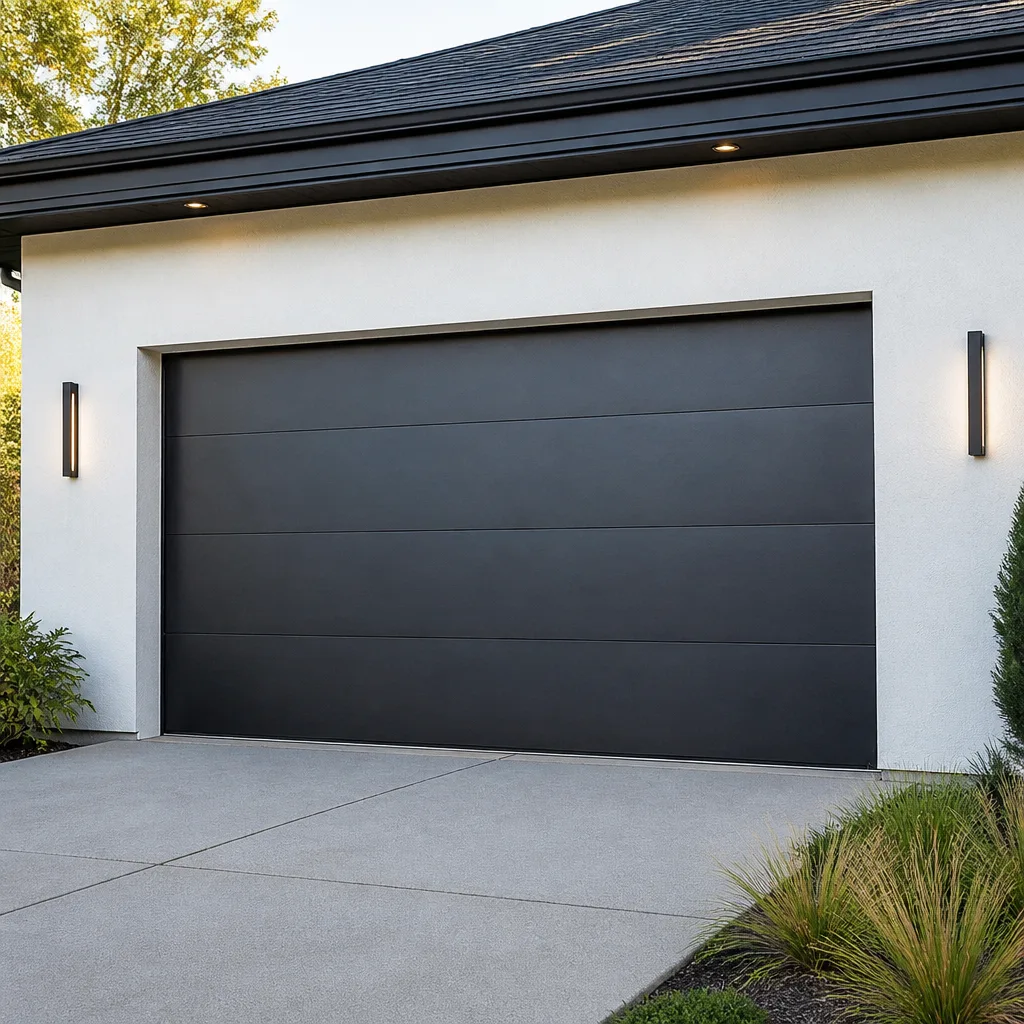 Modern flush
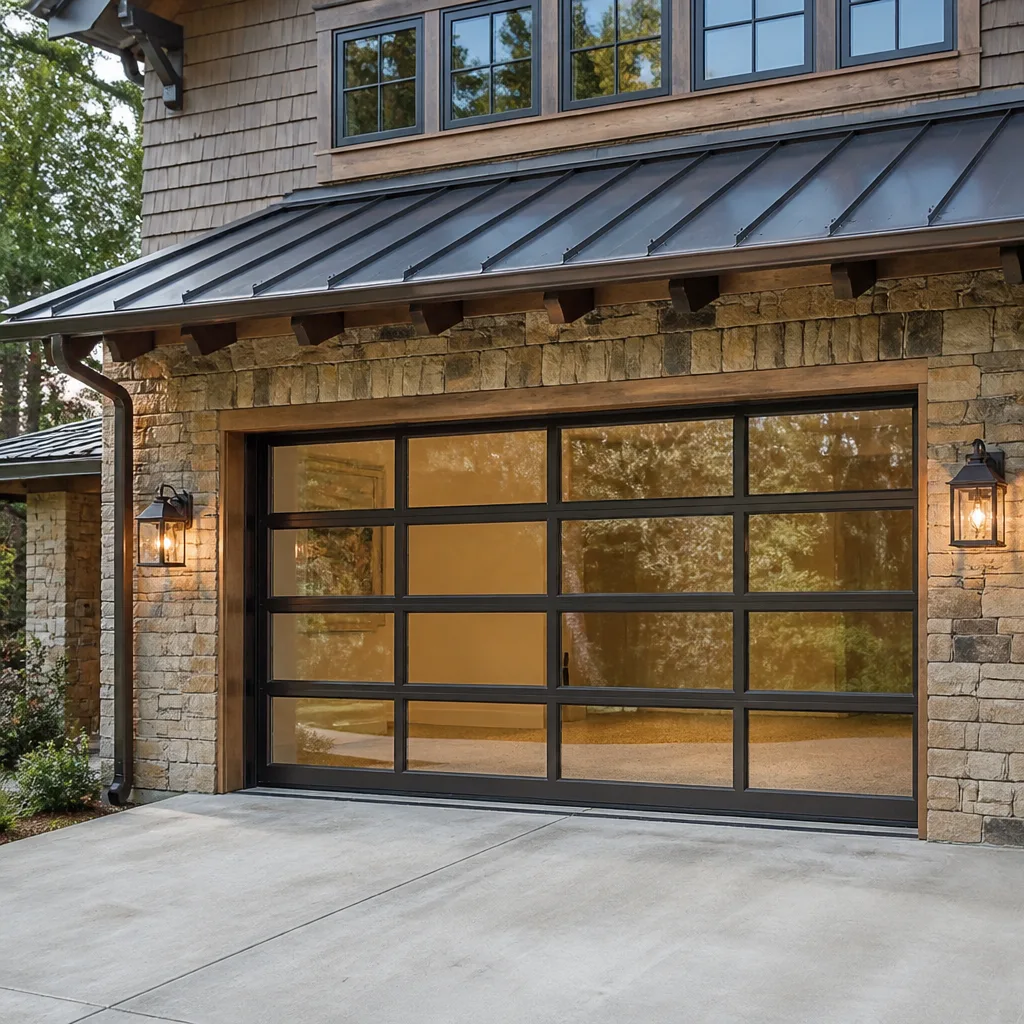 Full-view glass
 LiftMaster openers
 Chamberlain openers
Full 25-point door and opener safety check with every visit - springs, cables, rollers, tracks, and your LiftMaster or Chamberlain opener included
You get a price before we start. It does not change when the pro arrives.
Get your free estimateGarage Door Repair Maintenance Checklist for Spring Hill Homeowners
Most garage door maintenance checklists floating around online were written for a climate nothing like ours, and Spring Hill homeowners who follow them walk away thinking everything is fine when it isn’t. The failure patterns here come from year-round heat, Gulf humidity, and the door hardware that’s actually installed in this housing stock, not from ice and snow. A door that passes a Midwest checklist can still be weeks from a snapped spring or a seized hinge. This guide walks you through what to inspect, in what order, what each finding actually means, and which items are safe for you to handle versus which ones belong with a trained technician.
Quick Answer
A proper garage door maintenance checklist in Spring Hill focuses on heat-driven wear: spring tension and fatigue, hinge and roller lubrication with a non-petroleum product, cable drum condition, and bottom weatherstripping that pulls away from concrete floors expanding in the sun. Inspect springs, cables, and rollers monthly by sight and sound, lubricate hinges and rollers every few months, and leave spring, cable, and track corrections to a professional. Our technicians have up to 13 years of experience and can spot the failure signs that a walk-around misses.
Styles & brands we work with
- Raised-panel steel
- Carriage house
- Modern flush
- Full-view glass
- LiftMaster openers
- Chamberlain openers
Table of Contents
- Why a Spring Hill Checklist Looks Different
- Testing Spring Tension Safely (and the 30-Day Warning Sign)
- Lubricating Rollers and Hinges the Right Way in Florida Heat
- The 60-Second Photo Test for Cable Drum Wear
- Inspecting Bottom Weatherstripping for Floor Separation
- Opener and Safety-Reverse Checks
- Monthly, Yearly, and Seasonal Checklist
- What’s Safe to Do Yourself and What Isn’t
Why a Spring Hill Checklist Looks Different
Heat, humidity, and salt air from the Gulf change how garage door parts fail. In cooler climates the biggest enemies are freezing temperatures and road salt. Here, the biggest enemy is sustained warmth and moisture. Steel springs work-harden faster. Lubricant thins out and migrates. Rubber seals soften, then harden again. Paint and finish absorb humidity year-round and start to chalk on south-facing doors.
Local housing stock matters too. Many Spring Hill homes were built with overhead doors that use specific hardware from brands like Wayne Dalton, LiftMaster, and Clopay, and those assemblies each have their own wear patterns. A LiftMaster opener chain-driven door wears differently than a Wayne Dalton torsion setup. A checklist written for one doesn’t automatically fit the other.
You also don’t get a freeze to reset the system. Without weeks of cold weather, parts that would normally get a break keep operating in the same heat all twelve months. That means wear accumulates faster than a homeowner expects when they read a general-purpose guide.
- Springs: more cycles, faster fatigue, higher risk of a snap.
- Hinges and rollers: lubricant degrades faster and bearings dry out.
- Weatherseal: rubber hardens, cracks, and loses its grip on the concrete.
- Paint and finish: sun-facing panels chalk and fade.
- Openers: motors and logic boards run hotter and see more cycles.
None of that means your door is doomed. It means a Spring Hill checklist should concentrate on heat, cycles, and moisture rather than on cold-weather issues that simply don’t apply here. If you’re not sure where to start, a garage door repair inspection covers all these items in one visit and tells you what needs attention now versus what can wait.
Testing Spring Tension Safely (and the 30-Day Warning Sign)
Torsion and extension springs store enough energy to cause serious injury if handled wrong, so testing tension here means checking by feel and sight, never by turning a winding bar yourself. The safe test: with the door closed, disengage the opener, lift the door halfway by hand, and let go. A properly balanced door holds its position or drifts only slightly. If it slams down, rises on its own, or feels heavy lifting, the spring tension is off.
There’s also a specific visual cue nobody talks about enough. When a torsion spring starts to fatigue, it develops a gap between the coils even at rest. That gap widens as the spring weakens. A spring with multiple open coils with daylight between them, no grease shear on the winding surfaces, and a slight bow in its straight line has very little left to give. In our experience, a torsion spring in that condition often has 30 days or less before it snaps. Not every fatigued spring will fail in a month, but the combination of a visible gap, missing grease, and a slight bow is the pattern we see on springs that fail shortly after.
Extension springs use a different signal. Look at the spring hook and the safety cable anchor at each end. A stretched-out hook, a spring that no longer compresses to a tight coil, or a cable that hangs slack all point to wear.
What you should never do:
- Never adjust a torsion spring yourself. The winding operation requires a specific bar, a trained grip, and knowledge of how many quarter turns to apply. A slip can break a hand.
- Never cut, bend, or unhook an extension spring to release tension. The stored energy travels with the spring.
- Never stand under or walk beneath a door with a visibly fatigued torsion spring. Close the door and keep it closed until a technician inspects it.
Spring repair done right the first time is exactly the standard you want on this part. If the visuals above describe your door, call (877) 792-6784 and we’ll send a technician who can measure tension, replace the spring, and rebalance the door. We work on the brand already in your garage, from LiftMaster opener heads down to the hinge plates.
Lubricating Rollers and Hinges the Right Way in Florida Heat
Most online guides tell you to spray WD-40 on everything and call it done. In a Spring Hill garage, that’s the wrong move. WD-40 is a solvent with a light oil carrier, not a lasting lubricant. It dissolves the grease that’s supposed to stay in the roller bearings and hinge pins, then evaporates in the heat, leaving bare metal. A few weeks later the roller squeaks louder than before, and you’ve accelerated the wear you were trying to prevent.
What works in this climate is a heavier, non-petroleum lubricant designed to stay put at higher steady temperatures. Silicone-based spray for tracks and weatherstripping, and a lithium or white-lithium grease for hinge pins and roller stems. White lithium is thick enough that it doesn’t run off in the heat, and stays where you apply it on the metal surfaces that rub.
Here’s the sequence we recommend:
- Close the door fully. Work with it down so you’re not chasing the door.
- Wipe old grease and buildup off each hinge pin and roller stem with a rag. Dirt trapped under fresh grease wears metal faster.
- Apply a dab of white lithium grease to each hinge pin at both ends. A hinge that already feels gritty is on its way out and should be watched.
- Lightly spray each roller bearing cap with silicone or lithium spray. Don’t soak the whole roller; a light coat on the bearing is enough.
- Run a lint-free rag with a small amount of silicone along the inside of the vertical and horizontal tracks. This cleans the track and removes grit without leaving an oily film that attracts dust.
- Apply a thin layer of silicone spray on the bottom weatherseal to keep it supple.
- Cycle the door up and down twice, then wipe off any obvious drips on the floor.
Repeat the hinge and roller lube every few months. In Spring Hill the interval is shorter than in cooler parts of the country because the grease thins out sooner. If a hinge or roller still squeals after a fresh lube, the bearing is done and the part needs replacing. That’s a quick fix a technician can handle during a normal service call.
The 60-Second Photo Test for Cable Drum Wear
Most homeowners have never looked at their cable drums, and that’s a maintenance gap. The drums are the grooved aluminum or steel spools at the top of each side of the door that the lift cables wind onto. When a drum wears, the cables can jump the groove, fray, or drop the door.
The 60-second photo test goes like this:
- With the door in the up position, take a photo of each cable drum straight on, in good light.
- Zoom in on the photo and look at the groove where the cable sits. A healthy drum has a clean, even groove with the cable resting in a consistent channel.
- Look for the cable riding on top of a lip instead of in the groove, or wrapped unevenly at an angle.
- Look for burrs, gouges, or a flattened groove where a cable has been rubbing instead of seating.
- Look at the set screw on each drum. A screw that’s loose or backed out is a warning sign the drum has shifted.
- Look at each cable for frays, particularly at the drum end and at the bottom bracket where it attaches. A single frayed strand is a reason to stop operating the door.
Drums and cables are among the most dangerous parts of the system, right behind the springs. A snapped cable can whip and cause serious injury. If the photo shows an unevenly wound cable, a burr on the drum, or a visible fray, keep the door closed and call a technician. We can photograph, diagnose, and replace on the same visit for a routine repair, and Spring Hill Garage Door Repair Co offers emergency service when the door can’t wait.
Inspecting Bottom Weatherstripping for Floor Separation
Bottom weatherstripping on a garage door has one job: keep air, water, and small animals out by pressing against the concrete floor. In Spring Hill, that seal faces a specific problem, because concrete garage floors expand and contract as the slab heats through the day. Over time the floor at the threshold moves up slightly and the door’s bottom seal, which was tight when installed, starts to leave a gap in one or two spots.
The separation pattern to look for isn’t a uniform gap. It’s a gap on one side that disappears on the other, or a low spot in the middle where the slab has heaved. From inside the garage with the door closed, look at the meeting line between the bottom seal and the floor. Run a flashlight along the seam at a low angle. Light leaking through is your answer.
- A small gap on one edge: often the seal has hardened and lost its flex, or the door needs slight travel adjustment.
- A mid-span gap with dusty or damp concrete underneath: usually a slab expansion pattern, not a door problem, and better solved with a threshold or floor sealer than with seal replacement.
- A seal that’s torn, cracked, or hanging loose: the rubber is done. In Florida heat, a vinyl or rubber bottom seal ages faster than in cooler climates, especially on a door that faces the morning sun.
- A seal that’s flat and hard: time to replace, even if it still seals, because a hard seal becomes brittle and cracks within a season.
Replacing a bottom seal is one of the genuinely DIY-safe items on this list, provided you buy the correct profile for the door manufacturer. Clean the bottom retainer first, then slide the new seal in from one end. If the retainer is bent or rusted, call a technician, because reseating a retainer wrong can leave a gap that lets water in during summer storms.
Opener and Safety-Reverse Checks
The opener is the part of the system most homeowners interact with daily. It’s also the part that hides wear. Check these items monthly:
- Safety reverse: Place a piece of wood or a box flat on the floor directly under the door. Press the close button. The door should reverse within a couple of seconds of touching the object. If it stops on the object instead of reversing, the opener’s force or travel limits need adjustment.
- Photo-eye test: With the door closing, wave a hand between the two sensors at the bottom of the door. The door should reverse immediately. If it doesn’t, either the sensors aren’t aligned or they’ve failed.
- Force adjustment: If the door sounds like it’s straining, or the opener’s light flickers mid-cycle, the force setting is probably too tight. Never set force higher to force a heavy door up; that’s a sign of a spring or balance issue, not a door that needs more power.
- Chain or belt tension: A chain that sags below the rail by more than a small amount needs a slight adjustment. A belt that looks slack or slips indicates wear.
- Smart features: If you use the manufacturer’s app, confirm the opener still reports open and closed correctly, and that the alert notifications trigger as expected. After a household Wi-Fi change, many openers need to be reconnected.
Openers from LiftMaster, Chamberlain, Genie, and Craftsman all have slightly different adjustment procedures, and app-connected openers add a second layer of troubleshooting that legacy mechanical systems don’t have. If a safety-reverse test fails repeatedly, or a Genie or Chamberlain opener keeps losing its travel limits, that’s when garage door opener repair is the right call rather than further DIY adjustment.
Monthly, Yearly, and Seasonal Checklist
Sort your maintenance into three buckets so you’re not doing everything every month.
Monthly (10 minutes)
- Visual check of torsion spring for coil gaps and bowing.
- Safety-reverse and photo-eye test.
- Listen for irregular noise during a full open-and-close cycle.
- Check that the bottom weatherseal still meets the floor with no gap.
- Check the cable drums once by photograph, especially in summer.
Every Three Months
- Lubricate hinges and roller stems with white lithium grease.
- Clean and silicone-spray the vertical and horizontal tracks.
- Wipe the weatherseal with silicone spray.
- Check the opener chain or belt tension.
- Tighten any loose bolts on the hinge plates and the bottom bracket with a wrench (do not touch the torsion bar or its set screws).
Annually
- Full balance test with the opener disengaged.
- Spring inspection for fatigue, corrosion, or grease loss.
- Full travel and force adjustment check on the opener.
- Weatherseal replacement if it’s hardened, torn, or cracked.
- Paint or finish touch-up on south- or west-facing panels.
- Complete professional inspection: if you’ve never had one, this is where a service call pays for itself by catching wear before it fails.
March through October is the biggest stress window in Spring Hill because heat and humidity both peak and the door sees the most open-and-close cycles. If you’re going to do a heavier round of maintenance, do it in early spring and again in late fall so the system is ready for high-cycle season. A Spring Hill Garage Door Repair Co inspection at either of those windows gives you a clear picture of what the door needs before the peak arrives.
What’s Safe to Do Yourself and What Isn’t
We’d rather you fix the simple items yourself than pay us for them. The line between “safe DIY” and “call a technician” is clear, and it’s not about upselling. It’s about what can hurt you if it goes wrong.
Genuinely DIY-Safe
- Lubricating hinges and roller stems.
- Cleaning and silicone-spraying the tracks.
- Replacing the bottom weatherseal if the retainer is in good shape.
- Testing safety-reverse and photo-eye function.
- Visual inspection (springs, cables, drums) without touching anything.
- Tightening exterior hinge plate bolts and bottom bracket bolts.
- Reconnecting an opener to household Wi-Fi.
Requires a Technician
- Torsion spring replacement or adjustment. This is the most dangerous repair in the home.
- Extension spring replacement.
- Cable replacement or re-drumming.
- Track realignment. A bent vertical or horizontal track can cause the door to bind or come off the rollers, and bending it back incorrectly can crack the metal.
- Opener logic board or capacitor replacement.
- Panel replacement after impact damage.
- Force and travel limit adjustment if the door fails the safety-reverse test after a simple check.
- Replacing a snapped or damaged bottom bracket. The bracket holds cable tension and should not be touched without proper training.
If you’re not sure which bucket a task belongs in, treat it as a technician job. The cost of a service call is far less than the cost of an emergency room visit. Spring Hill Garage Door Repair Co handles spring repair, cable work, track alignment, and opener repairs as core services, and we can quote a free estimate before any work starts.
Common Mistakes to Avoid
- Using WD-40 as a lubricant. It dissolves the grease that’s supposed to protect rollers and hinges, then evaporates in the heat. You’ll be back to a squeaky door in a few weeks, with more wear than when you started.
- Assuming a quiet door is a healthy door. A torsion spring can be weeks from failure and still operate silently. The visual checks matter as much as the sound.
- Forcing a heavy door up with a higher force setting. If the door feels heavy, the spring is the problem, not the opener. Turning up the force just wears out the opener faster and can bend the top section.
- Skipping the weatherseal because it “still looks fine.” A hardened vinyl seal that still meets the floor has lost most of its seal and will likely crack within a season. In a Spring Hill summer, that means water intrusion and warm, humid air in the garage.
- Ignoring the cable drums. Drums fail silently, and a cable that jumps the groove can drop the door. The 60-second photo test catches this before it becomes an emergency.
- Winding a torsion spring to “just tighten it a little.” There is no safe small adjustment. A torsion spring is either correct or replaced, and the winding operation is a trained-professional task.
- Buying a new opener when the door itself is the problem. A worn spring, dragging roller, or misaligned track makes a perfectly healthy opener strain. Diagnose the door before replacing the motor.
- Overlooking the brand. A Wayne Dalton opener and a Craftsman opener don’t adjust the same way. Follow brand-specific procedures rather than a general online tutorial.
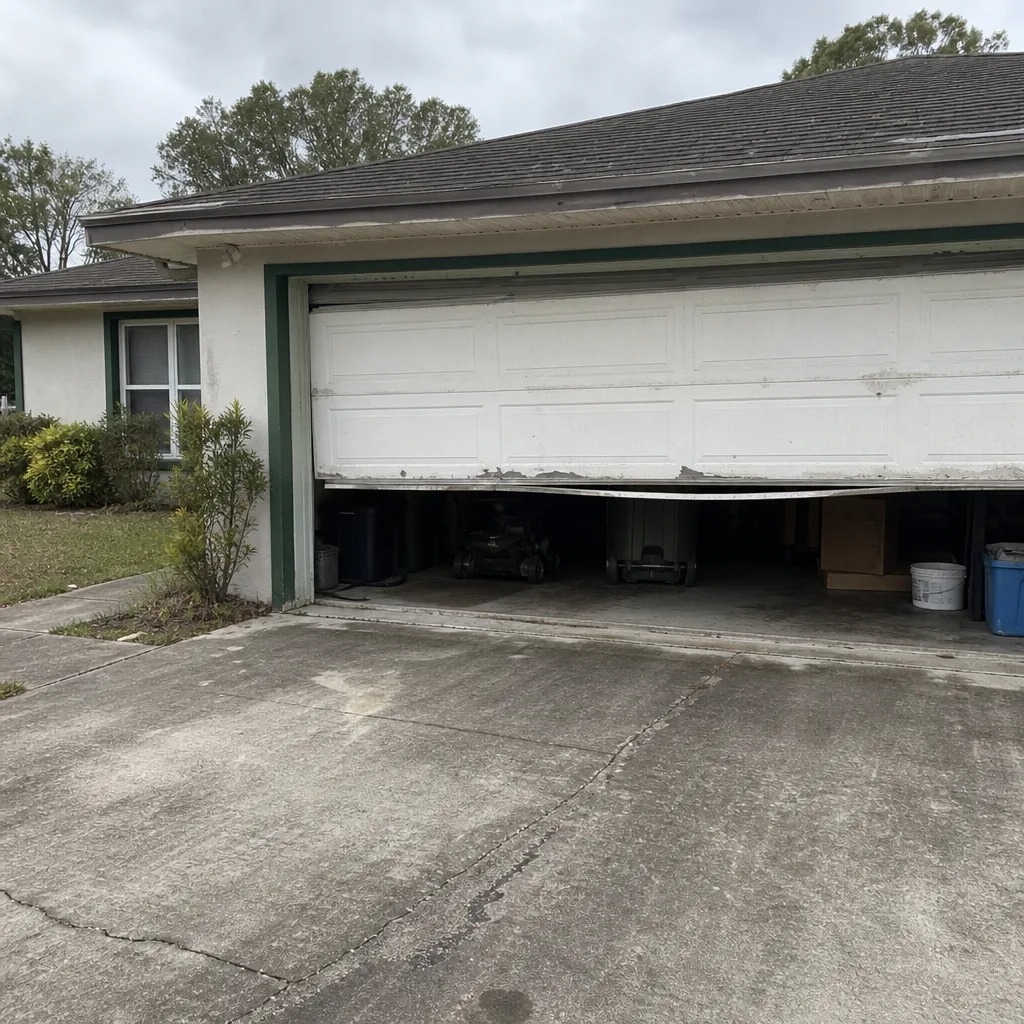
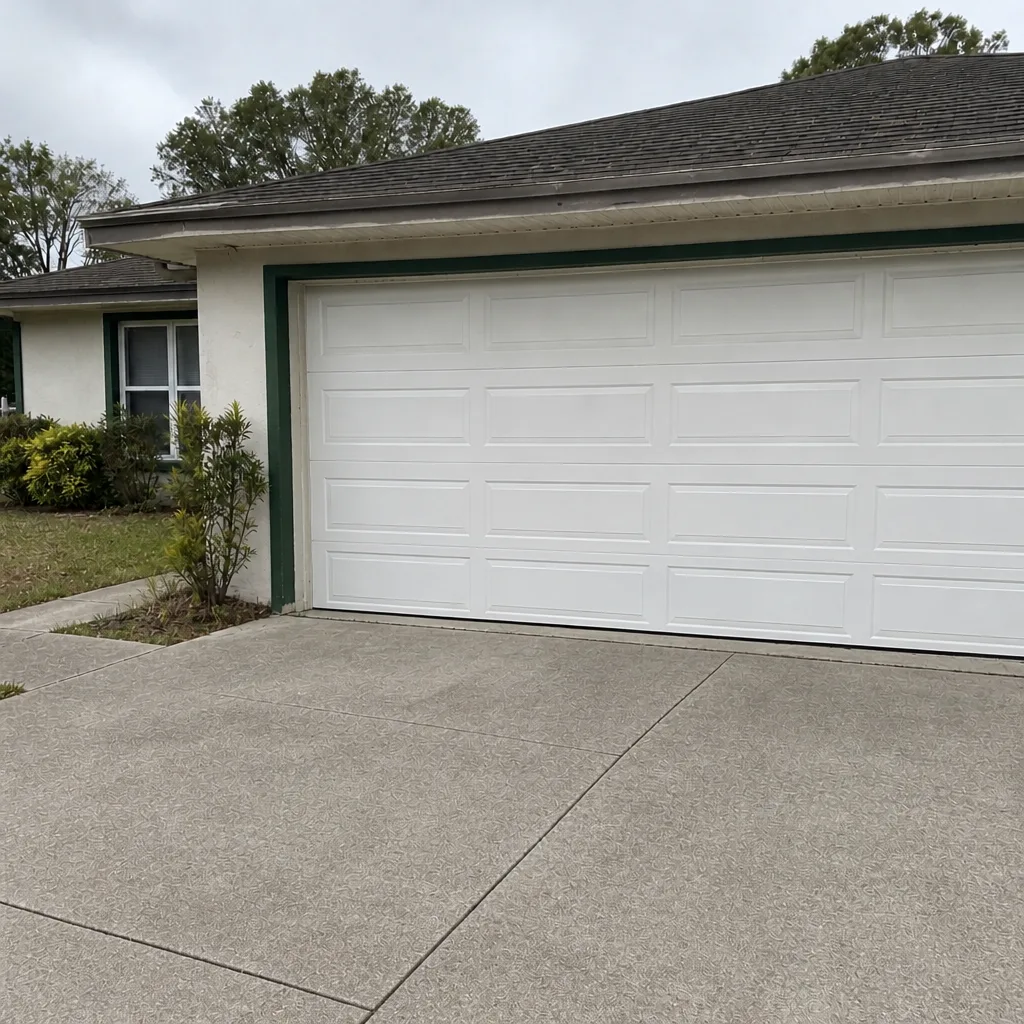
See the difference
 Before
 After
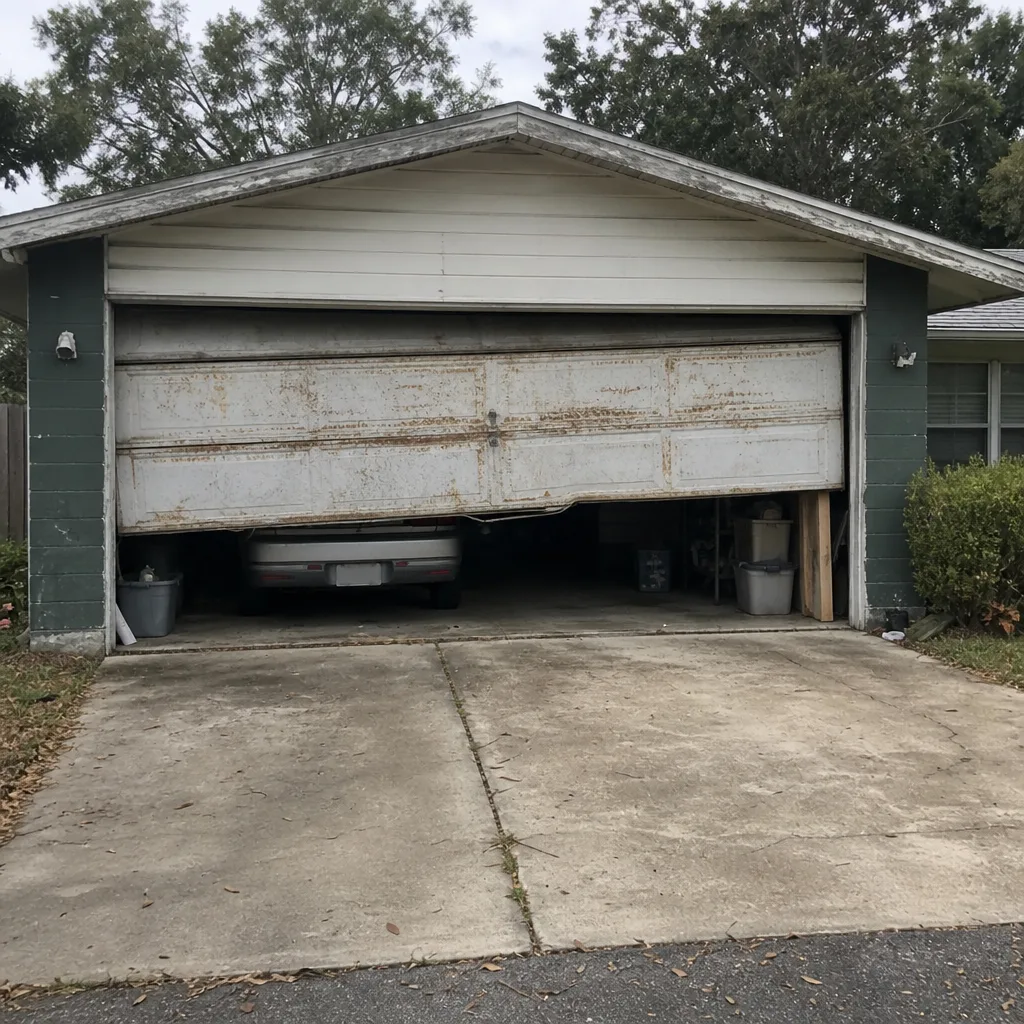 Before
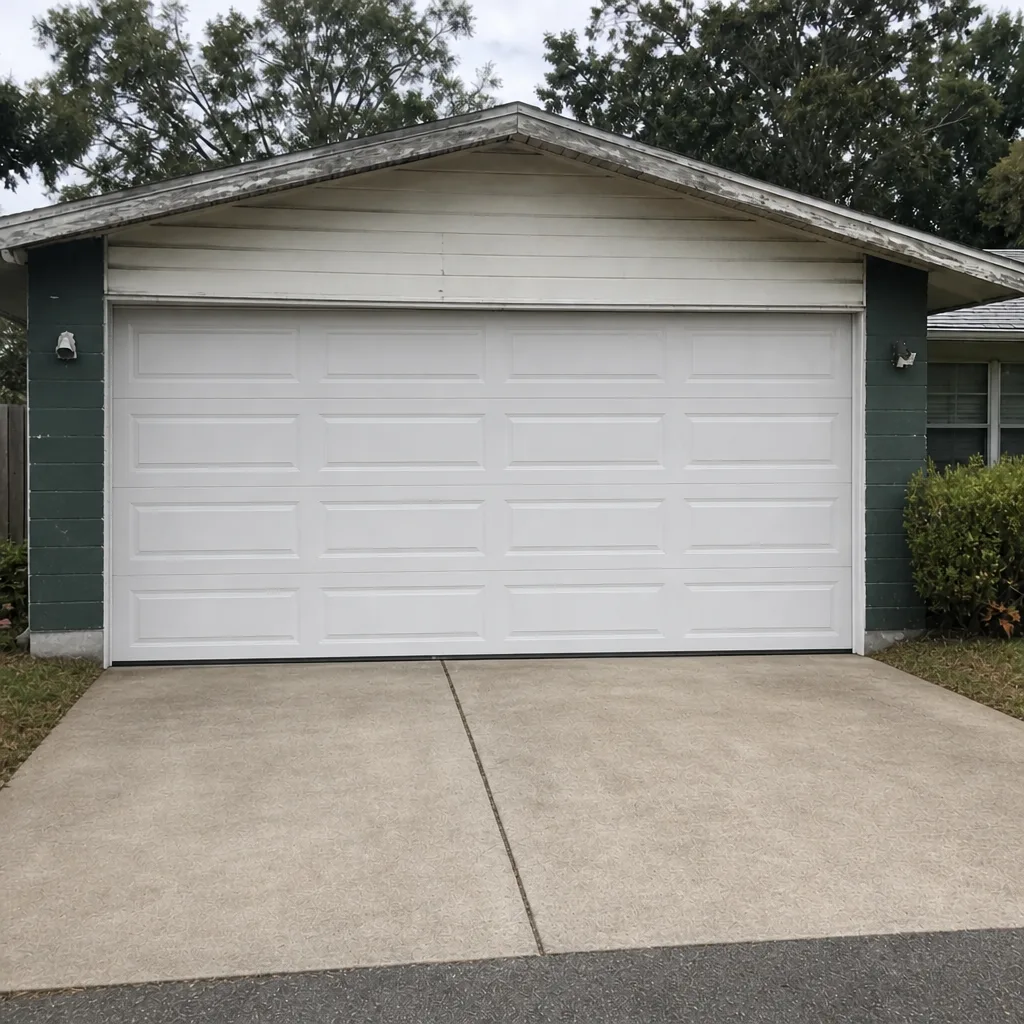 After
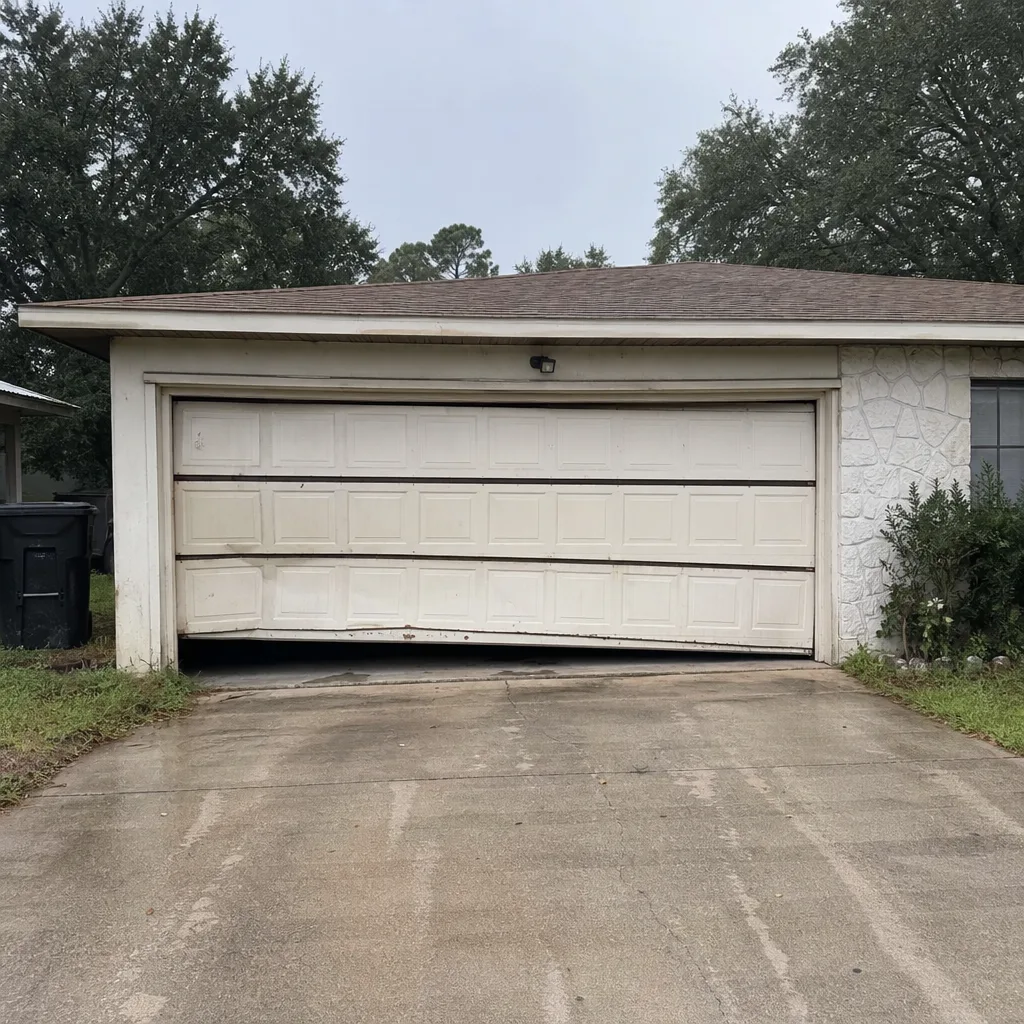 Before
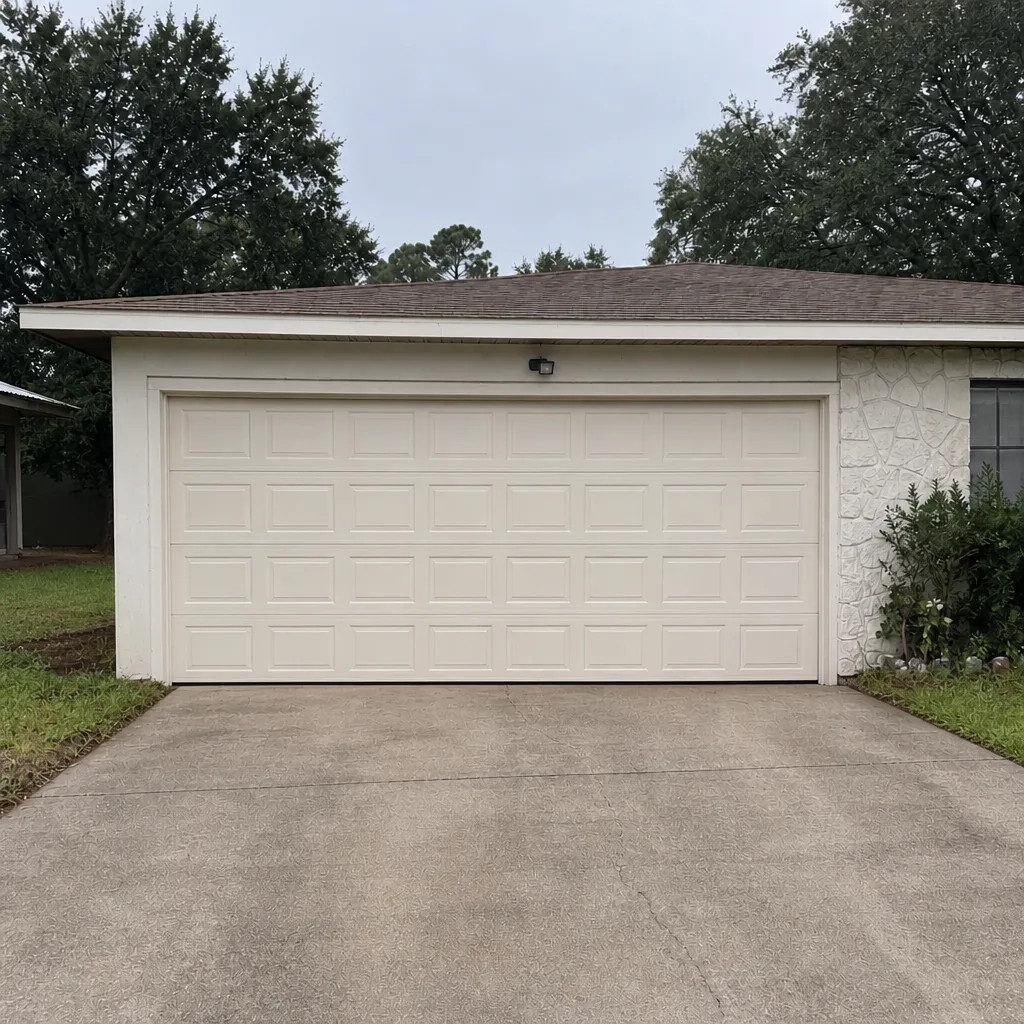 After
When to Call a Professional
Call a professional the moment a spring looks fatigued, a cable shows any fray, or the door doesn’t pass the safety-reverse test after a basic check. Anything requiring tools on the torsion bar, the drums, or the bottom bracket belongs with a technician. So does an opener that keeps losing travel limits, a door that has come off a curb or roller, and any panel damaged by impact. If a broken section of the checklist keeps resurfacing, a single professional inspection tells you what’s actually wrong and what’s fine. Spring Hill Garage Door Repair Co offers free estimates in Spring Hill – call (877) 792-6784. When the door won’t move, neither does your day, and our emergency service is built to respond.
Frequently Asked Questions
Every three months is the right interval here, more often than the six months many national guides suggest. Heat and humidity in Spring Hill thin out grease faster, and a door that gets used several times a day will dry out its hinge pins quicker than a door in a cooler climate. Use white lithium grease on hinge pins and roller stems, and silicone spray on the tracks and weatherseal. Call (877) 792-6784 if a hinge or roller still squeals after a fresh lube, since that usually means a bad bearing.
The torsion spring and the cable drums. Both store and transfer enough energy to cause serious injury if handled wrong. You can look at them safely, and you should, but any adjustment, replacement, or unwinding belongs with a trained technician. Call us at (877) 792-6784 for spring or cable work and we’ll give you a free estimate before anything is touched.
Look for open gaps between the torsion coils even at rest, missing grease on the winding surfaces, and a slight bow in the spring’s straight line. That combination in our experience means the spring often has 30 days or less before it snaps. Extension springs show wear differently: stretched-out end hooks and springs that no longer compress to a tight coil. If you see any of this, keep the door closed and call a technician.
Concrete garage floors expand slightly as they heat through the day, and over time the slab at the threshold moves enough that the bottom seal no longer meets it evenly. You’ll see a gap on one edge or a low spot in the middle where the slab has heaved. It’s usually a floor issue, not a door issue. A technician can recommend whether the seal needs replacing, the door needs travel adjustment, or the concrete threshold needs a different approach.
No. Torsion spring replacement requires a winding bar, correct quarter-turn counting, and a trained grip on a component that stores enough energy to break a bone. Extension springs are also hazardous because the spring carries stored energy when it releases. Spring repair is one of the most safety-sensitive jobs in the trade, and it’s a service garage door installation and repair pros handle for a reason. We work on whatever brand is in your garage, from Raynor to LiftMaster.
If the door itself moves freely by hand with the opener disengaged but the opener strains to lift it, the motor is the issue. If the door feels heavy by hand, the opener is fine, and the door’s spring or rollers are the problem. Common signs of opener trouble include failing safety-reverse, clicking without movement, an app that won’t reconnect after a Wi-Fi change, and a motor that keeps resetting travel limits. Garage door opener repair on LiftMaster, Chamberlain, Genie, or Craftsman units is a routine service. Call (877) 792-6784 for an estimate.
The Bottom Line
A Spring Hill maintenance checklist should target heat and humidity, not snow and ice. Inspect the torsion spring for coil gaps and bowing once a month, and treat visible fatigue as a reason to call. Lubricate hinges and rollers with white lithium grease every few months rather than WD-40, because the solvent approach wastes your effort in this climate. Photograph the cable drums to catch wear, and inspect the bottom weatherseal for floor separation that comes from concrete slab expansion. Leave spring, cable, and track work to a technician. Our technicians have up to 13 years of experience and can walk through any item on this list with you before anything is touched.
If you’d rather have a trained eye run the full checklist once and tell you what needs work, we’ll quote a free estimate. Call Spring Hill Garage Door Repair Co at (877) 792-6784 and we’ll take a look at your door, whatever brand is hanging overhead, and give you a written price you agree to before any work starts.
Written by the team at Spring Hill Garage Door Repair Co.